Creating a New Block in Armonic CMS
This user manual will guide you step by step through the process of creating a new block in the Armonic CMS administration panel.
Accessing the Block Creator
Navigate to the Armonic CMS administration panel.
In the left sidebar, locate the CMS/Blocks section.
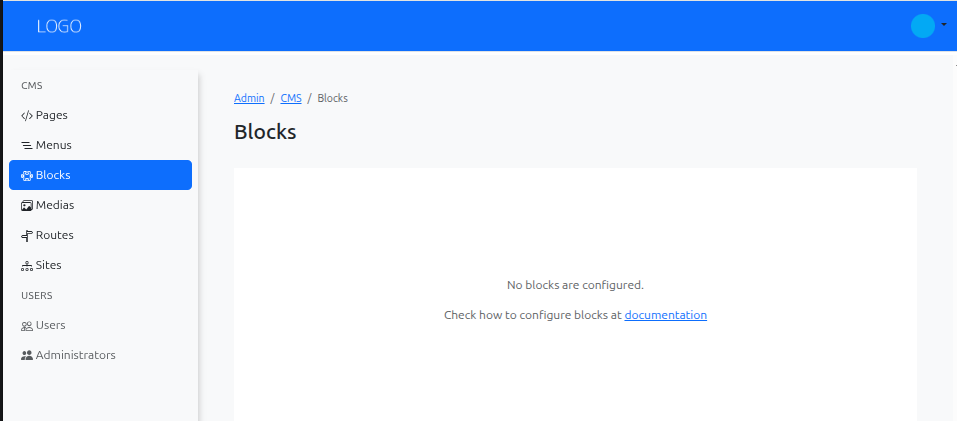
First, you can see that you don't have any blocks configured yet.
To configure block types, see the Block Configuration (cms blocks) section.
Once you have configured a block (in our example, the ‘example’ block), look for the ‘New block’ button in the top-right corner of the ‘Blocks’ section.
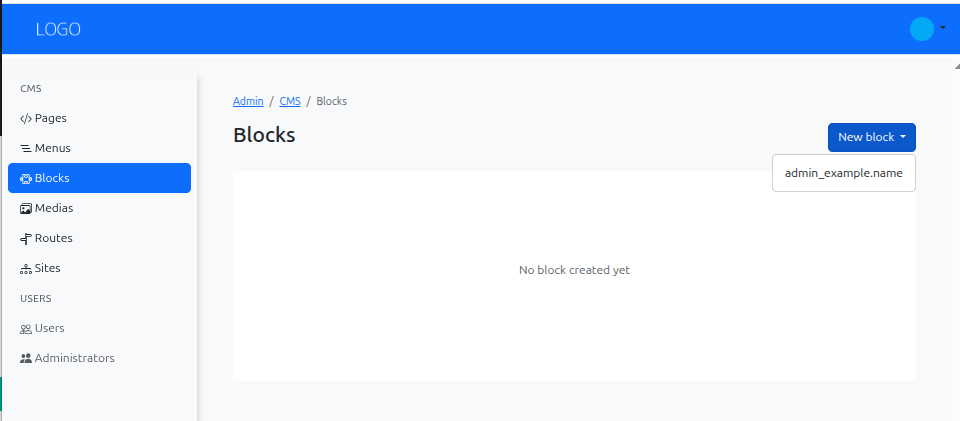
Choose the type of block you want to create from the dropdown menu. The available block types will depend on the modules installed in your Armonic CMS instance.
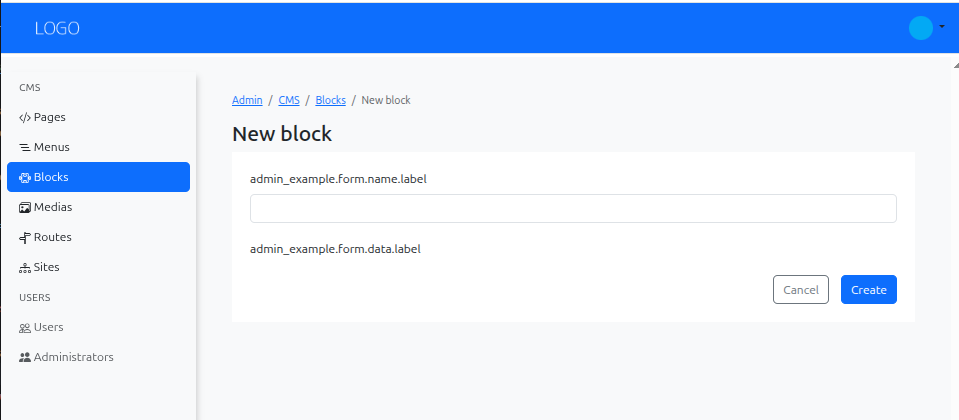
Filling Basic Information
Complete the basic fields or the custom fields for the block type you selected.
Save, view and edit the block
After filling in the necessary information, click the ‘Save’ button to create the block.
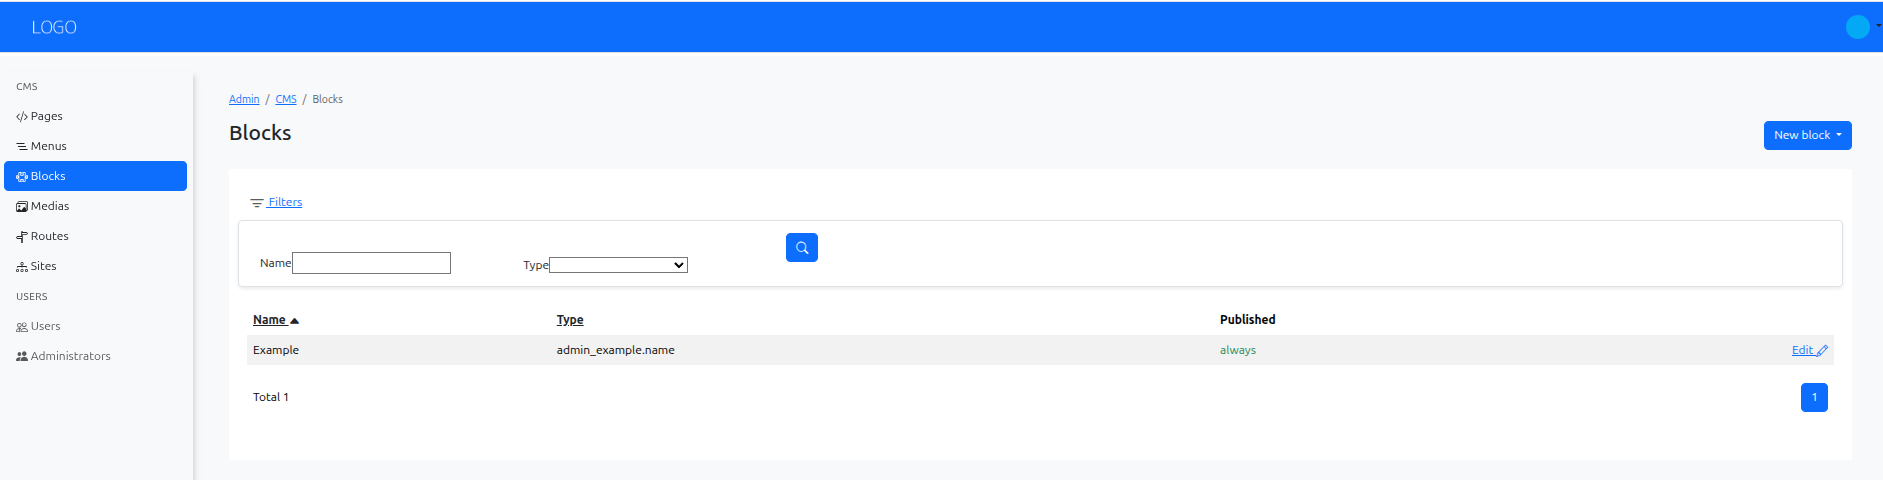
Once saved, you can view the block details, edit its content, or delete it if needed.
Using the Block in Pages
Creating a block does not automatically place it in a page layout.
To render it in a page, add it in a module/block slot from the page editor.
See Adding modules or blocks for the full workflow.