Build and publish a small website
This example builds a small site for a fictional studio, Hello Studio. Visitors will see a home page, an About page, a navigation menu, and the same call to action on both pages. The page text remains editable in the CMS.
Start with an Armonic application that already has a working CMS, a configured site and host, an administrator account, and a running web server. This guide begins after installation. Use the site's existing locale and public URL; the paths below are examples.
Files under cms/ belong in the Symfony project directory (kernel.project_dir). In projects whose Symfony application lives in app/, that means app/cms/. If your project already has a layout and menu, adapt those instead of creating duplicate definitions.
1. Add a layout for the pages
Create cms/layouts/hello/config.yaml:
layout:
    revision: 1
    compatible_contents: ['page']
    containers:
        main: ~
The main container is where editors will add modules. Create cms/layouts/hello/edit.html.twig for the editor:
{% block body %}
    <main>
        {{ form_row(form.data.main) }}
    </main>
{% endblock %}
Create cms/layouts/hello/render.html.twig for visitors:
{% extends '@SfsComponents/base.html.twig' %}

{% block title %}{{ version.seo.metaTitle|default([])|sfs_cms_trans }}{% endblock %}

{% block body %}
    <header>
        <a href="{{ sfs_cms_url('home') }}">Hello Studio</a>
        <nav aria-label="Main navigation">
            <ul>{{ sfs_cms_menu('main') }}</ul>
        </nav>
    </header>

    <main>
        {{ containers.main|raw }}
    </main>
{% endblock %}
The home route used in the header will be created in step 4. The main menu type will be created next. A layout controls where content appears; it does not create page content by itself.
2. Define the navigation menu
Create cms/menus/main/config.yaml:
menu:
    revision: 1
    esi: false
    singleton: true
Create cms/menus/main/render.html.twig:
{% for item in menu.items %}
    <li>
        <a href="{{ sfs_cms_url(item.symfonyRoute) }}">
            {{ item.text|sfs_cms_trans }}
        </a>
    </li>
{% endfor %}
The menu definition makes Main available in the admin. The menu record and its links are added after the pages exist. esi: false keeps this small example independent of ESI configuration.
3. Define a reusable call to action
Create cms/blocks/contact_cta/config.yaml:
block:
    revision: 1
    esi: false
    singleton: true
    form_fields:
        heading:
            type: text
        message:
            type: textarea
        email:
            type: email
Create cms/blocks/contact_cta/render.html.twig:
<aside aria-label="Contact Hello Studio">
    <h2>{{ heading }}</h2>
    <p>{{ message }}</p>
    <a href="mailto:{{ email }}">Email us</a>
</aside>
The fields make the block editable once in CMS / Blocks. Its content can then appear on several pages through the built-in Block instance module. Use an email address that accepts messages from visitors.
After adding these files, clear the application cache so Armonic discovers the new definitions. In the Symfony project directory, run php bin/console cache:clear using the environment in which you are editing. If you use a deployment process, include these files in that deployment before editing content.
4. Create the home page
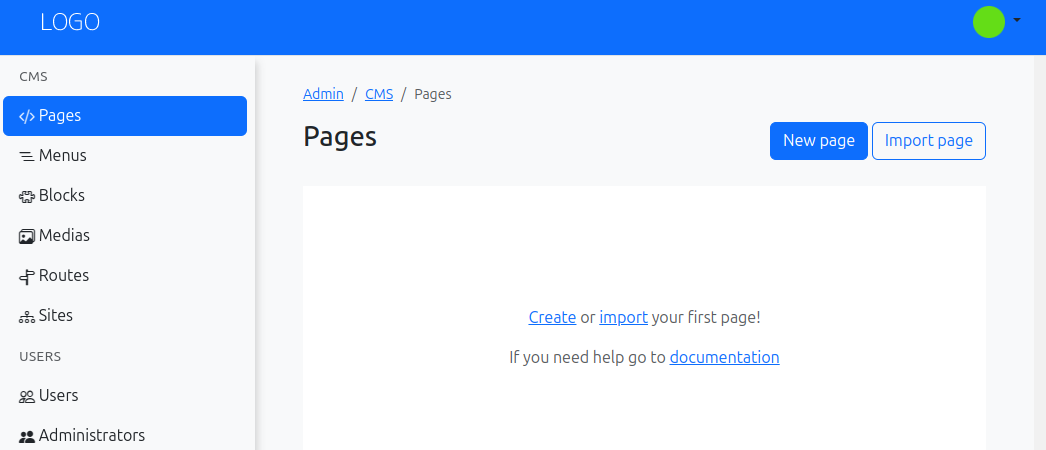
Open CMS / Pages in the admin and choose New page.
Name it Home, select your configured site and its default language, and enter
homeas the route identifier. Leave the page's path empty to use the root of that site's language path. For example, if the site maps English to/en, the public home URL will be/en/. Do not add a second route for a path already in use.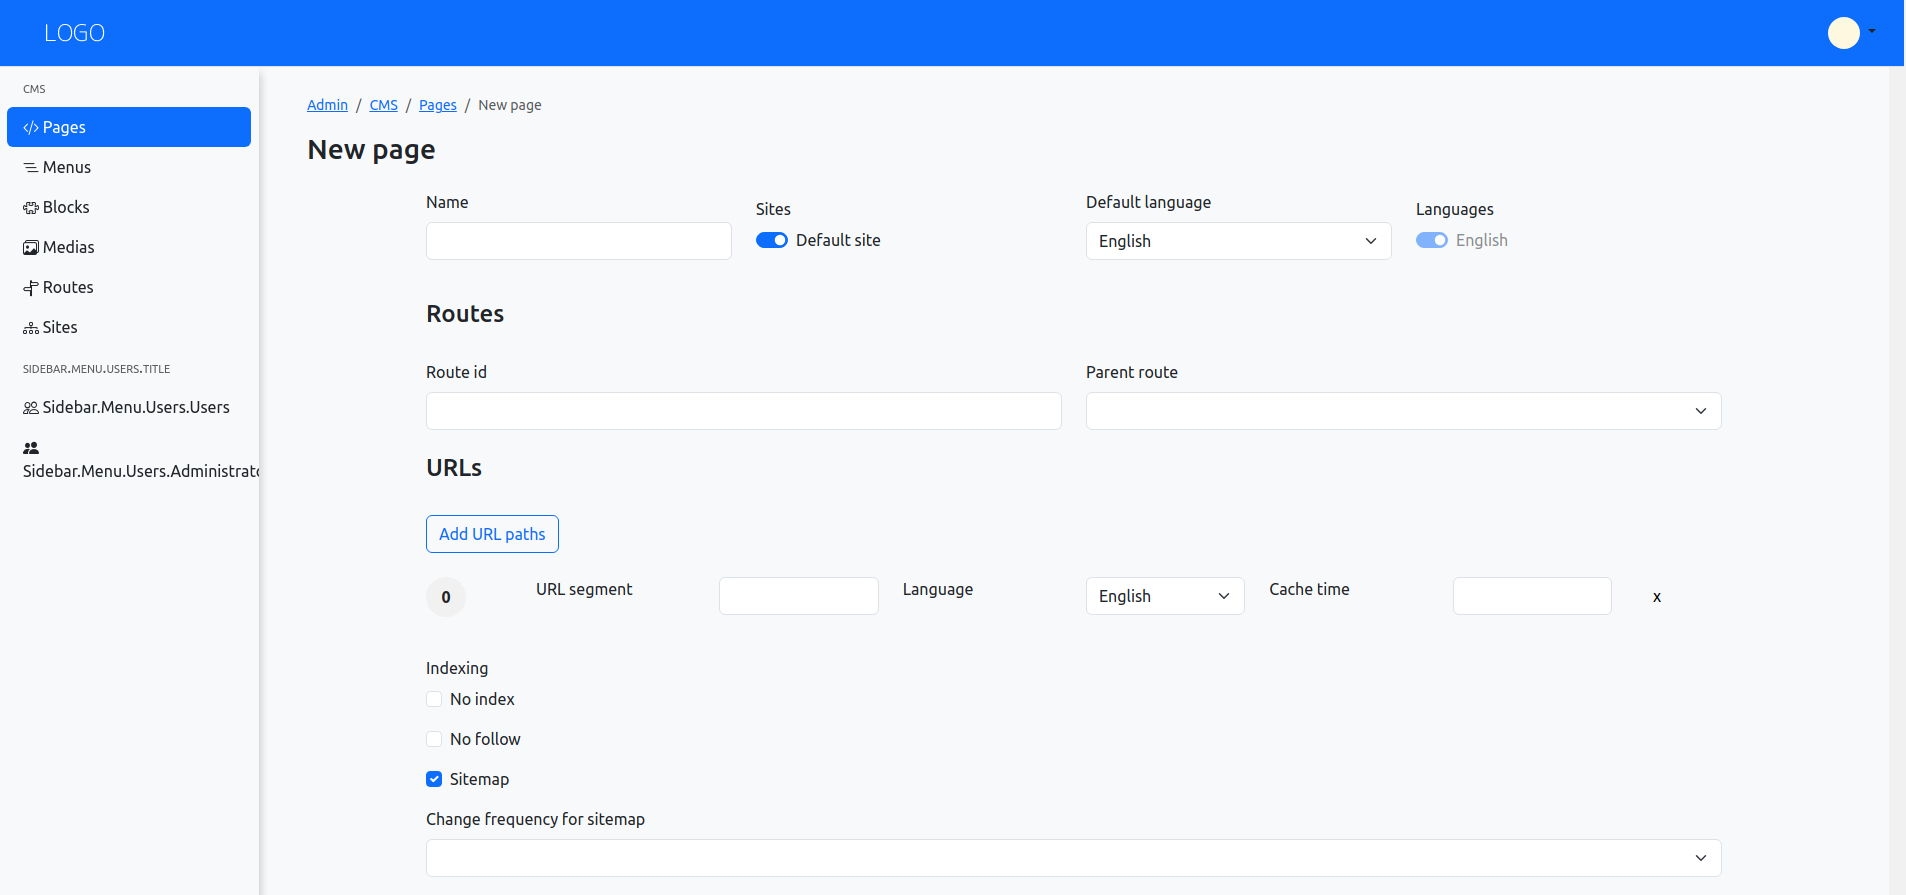
Create the page, open its content editor, and select the hello layout. If the editor asks for a layout during page creation, choose it there.
Add the built-in Translatable HTML module to the
mainarea. Enter a heading such as “Welcome to Hello Studio” and a short introduction. Fill in the language you selected for the page.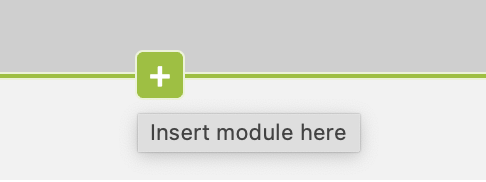
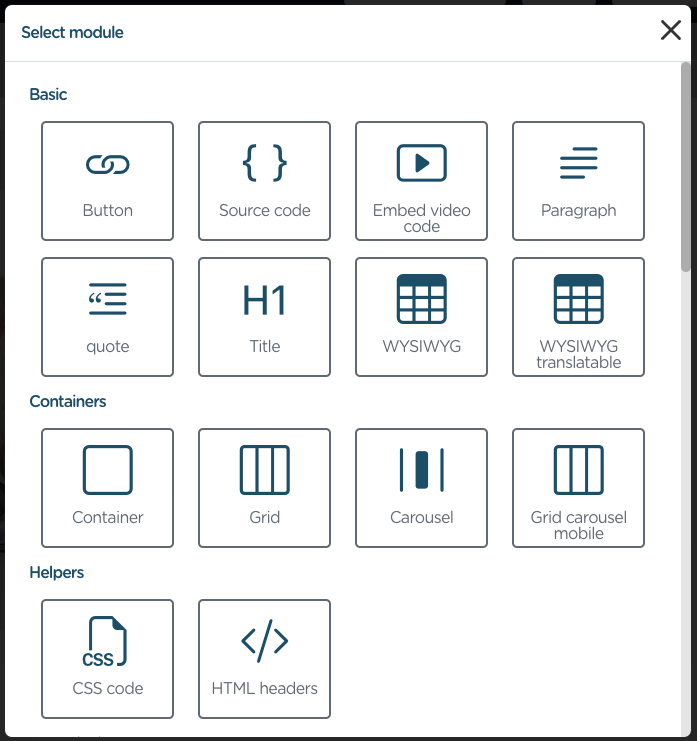
The screenshots show a project's WYSIWYG translatable option. In this example, choose the built-in Translatable HTML module; the picker labels depend on the modules available in your project.
Fill in the page's SEO title, for example Hello Studio | Home, and save the version.
The route identifier home is used by the logo link in the layout. If your site already has a home route, use that page as the home page and edit its content instead. See Create a new page for the page form and Add modules or blocks for the editor controls.
5. Create the About page
- In CMS / Pages, create another page named About for the same site and language.
- Enter
aboutas its route identifier andaboutas its path. With the example/ensite language path, the public URL will be/en/about. Page paths are relative to the site's language path. Select the hello layout and add a Translatable HTML module to
mainwith a heading and a few sentences about the studio.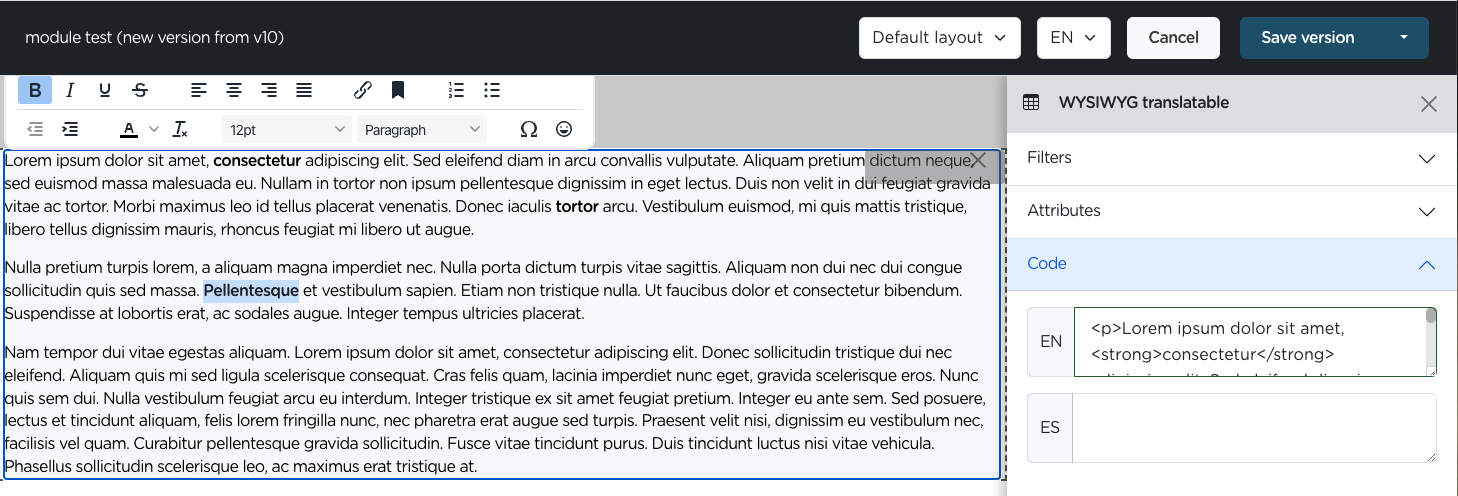
Add an SEO title such as About | Hello Studio and save the version.
Each page owns its route when created through CMS / Pages. There is no need to create another route in CMS / Routes for these two pages.
6. Create the shared block
Open CMS / Blocks, choose New block, and select the
contact_ctatype.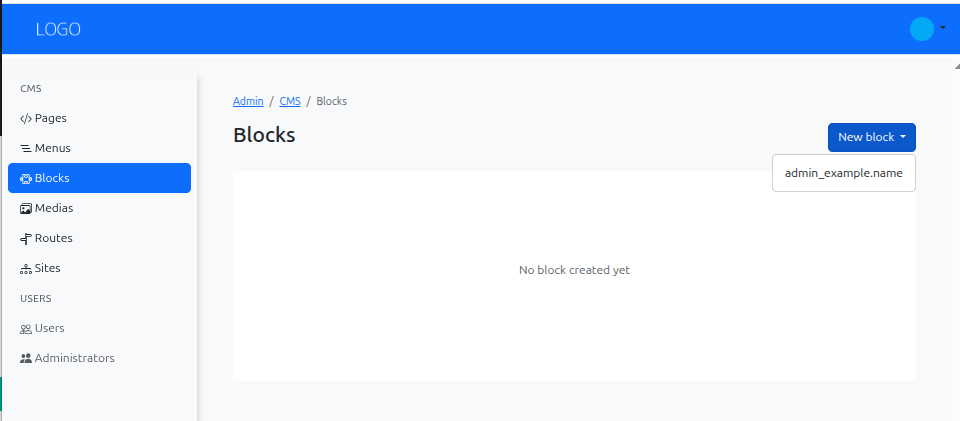
Name the block Contact invitation. Enter Let's talk for its heading, Tell us what you are working on. for its message, and a working contact email address, then save it.
The form below shows where block fields appear. The
contact_ctafields in this example depend on the definition from step 3.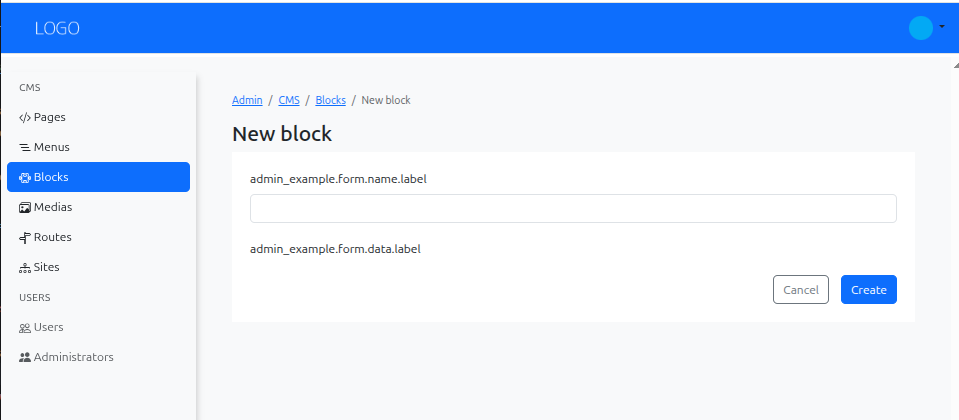
Return to the Home content editor. Add a Block instance module below the introduction and select Contact invitation.
- Repeat on About, selecting the same block instance. Save both page versions.
Editing Contact invitation later changes the shared block wherever it is rendered. The block type is defined in files; the block instance is created in the admin. See Create a new block.
7. Add the menu links
Open CMS / Menus, choose New menu, and select Main.
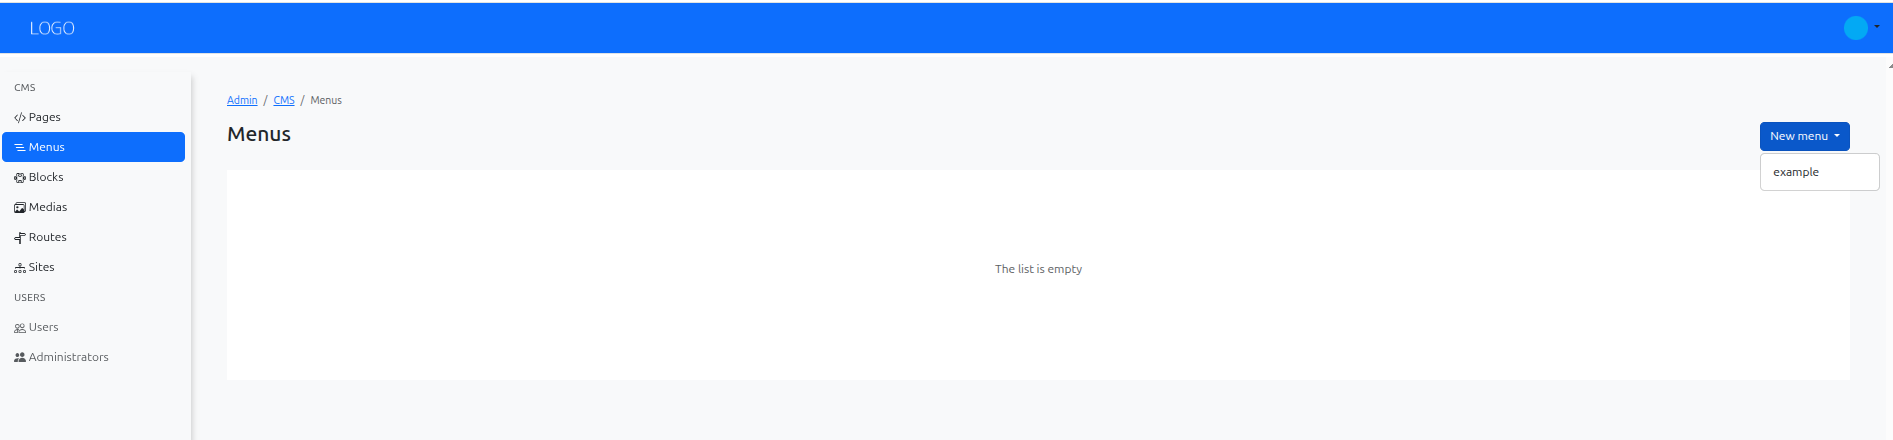
Name it Main navigation. Add two items, Home and About.
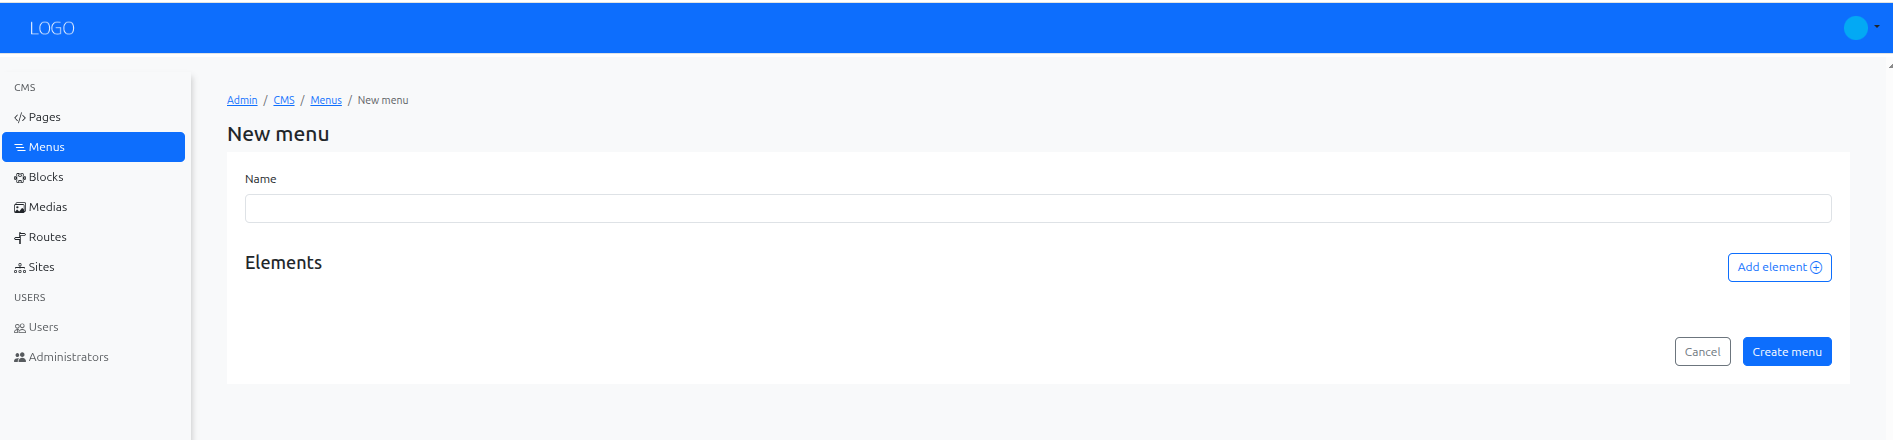
For each item, select the corresponding CMS route identifier (
homeorabout) in its route field. Save the menu.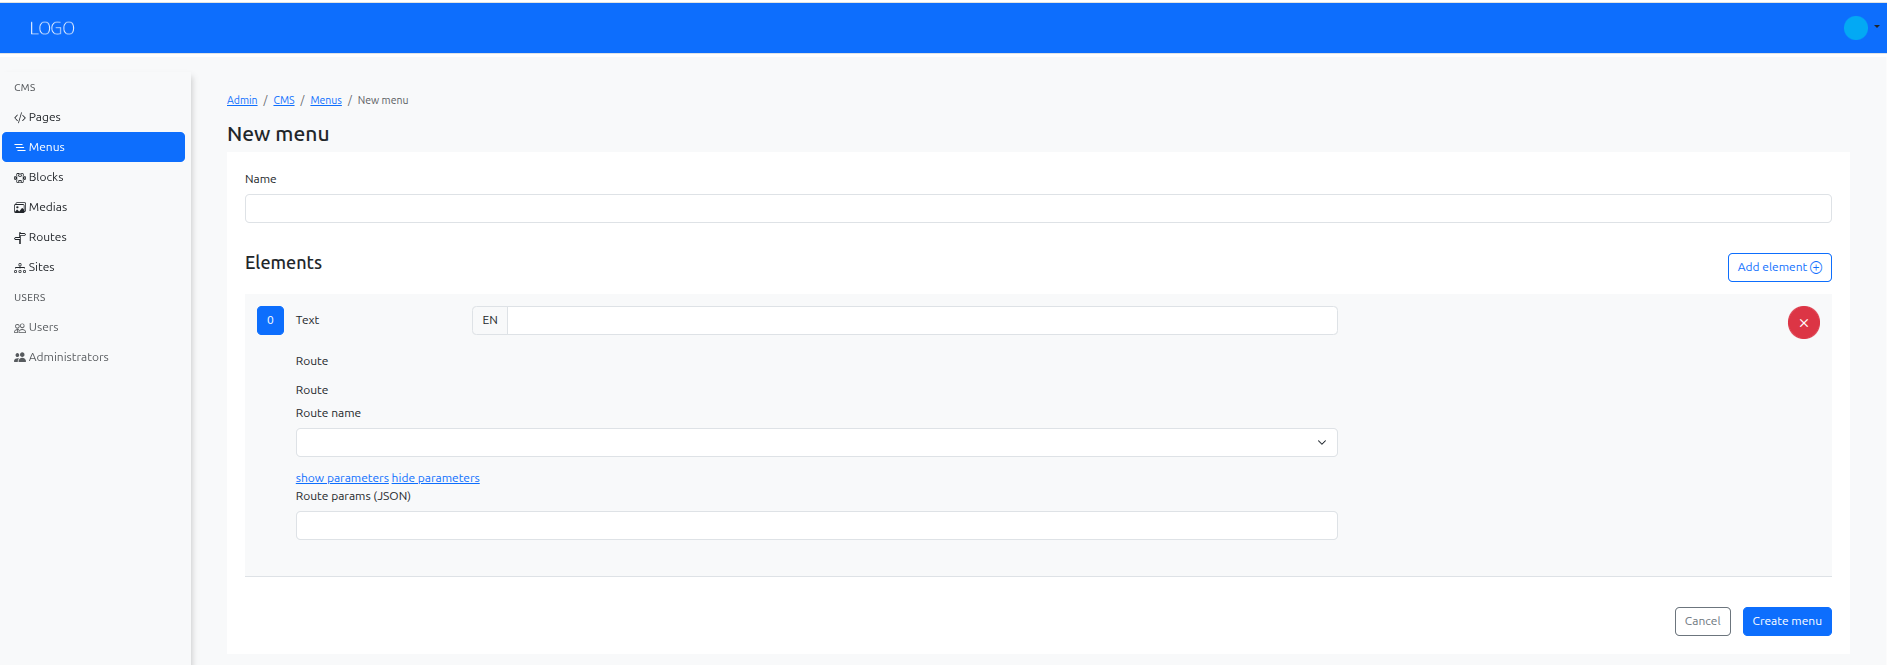
The menu appears in the layout because it calls sfs_cms_menu('main'). Creating a menu record alone does not place it on a page. See Create a new menu.
8. Preview and publish
- Open Home in the content editor and choose Save and preview. Check the heading, block, and navigation. Do the same for About.
- Publish each page version using Publish version from preview or Save and publish from the editor.
- Visit both pages through the site's public host and locale path. Follow the menu links in both directions and confirm that the call to action appears on each page.
Previewing does not make a page public. The menu may render before both pages are published, but its links become useful to visitors only after their page versions are published. If a change is missing, confirm that you published the latest version and that the project files containing the layout, menu, and block are deployed. See Preview and publish a page.