Armonic standalone
Description
Armonic Standalone is a great way to dive into the world of Armonic. With a
quick and easy setup, you can have a fully functional local development environment in minutes.
Installation
1. Clone this repository:
git clone https://github.com/softspring/armonic-standalone
2. Install dependencies
curl -1sLf 'https://dl.cloudsmith.io/public/symfony/stable/setup.deb.sh' | sudo -E bash
sudo apt install symfony-cli
macOS:
brew install symfony-cli/tap/symfony-cli
Docker:
Choose one option.PHP
sudo apt install php-cli
macOS:
First you need Xcode Command Line Tools:
xcode-select --install
brew install php
brew install mysql
- Composer
sudo apt install composer
macOS:
brew install composer
- NPM
(Node >= 18)
sudo apt install npm
- Install Composer packages
In the folder where you downloaded armonic-standalone run. In this case, armonic-standalone:
  cd armonic-standalone
  composer update
- Start the containers
docker compose up -d
- Execute migrations
php bin/console doctrine:migrations:migrate -n
Troubleshooting:
- If you have an error like:
An exception occurred in the driver: SQLSTATE[HY000] [1045] Access denied for user 'app'@'localhost' (using password: YES)
Create a new file compose.override.yaml in the root of the project with the following content:
services:
###> doctrine/doctrine-bundle ###
  database:
    ports:
      - "${MYSQL_PORT:-33061}:3306"
###< doctrine/doctrine-bundle ###
Create a new file .env.local with the following content:
DATABASE_URL="mysql://app:!ChangeMe!@127.0.0.1:33061/app?serverVersion=8.3.0&charset=utf8mb4"
And execute again:
  docker compose up -d
  php bin/console doctrine:migrations:migrate -n
- Install front-end dependencies
  npm install
  npm run dev
- Start the Symfony server
  symfony server:ca:install
  symfony server:start -d
- (Optional) If you want an example page, you have to load fixtures:
php bin/console doctrine:fixtures:load
- Create a test user. In this case, the user is “admin”, the email is “email@example.com” and the password is “admin”.
  php bin/console sfs:user:create admin email@example.com admin
  php bin/console sfs:user:promote email@example.com
Usage
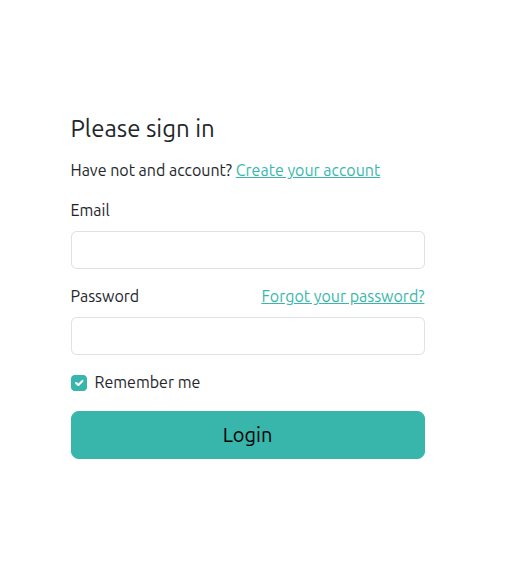
Open your browser and go to https://127.0.0.1:8000/app/en/login (or https://127.0.0.1:8000/app/es/login if you prefer in Spanish).
Log in with the email and password you created in the previous step.
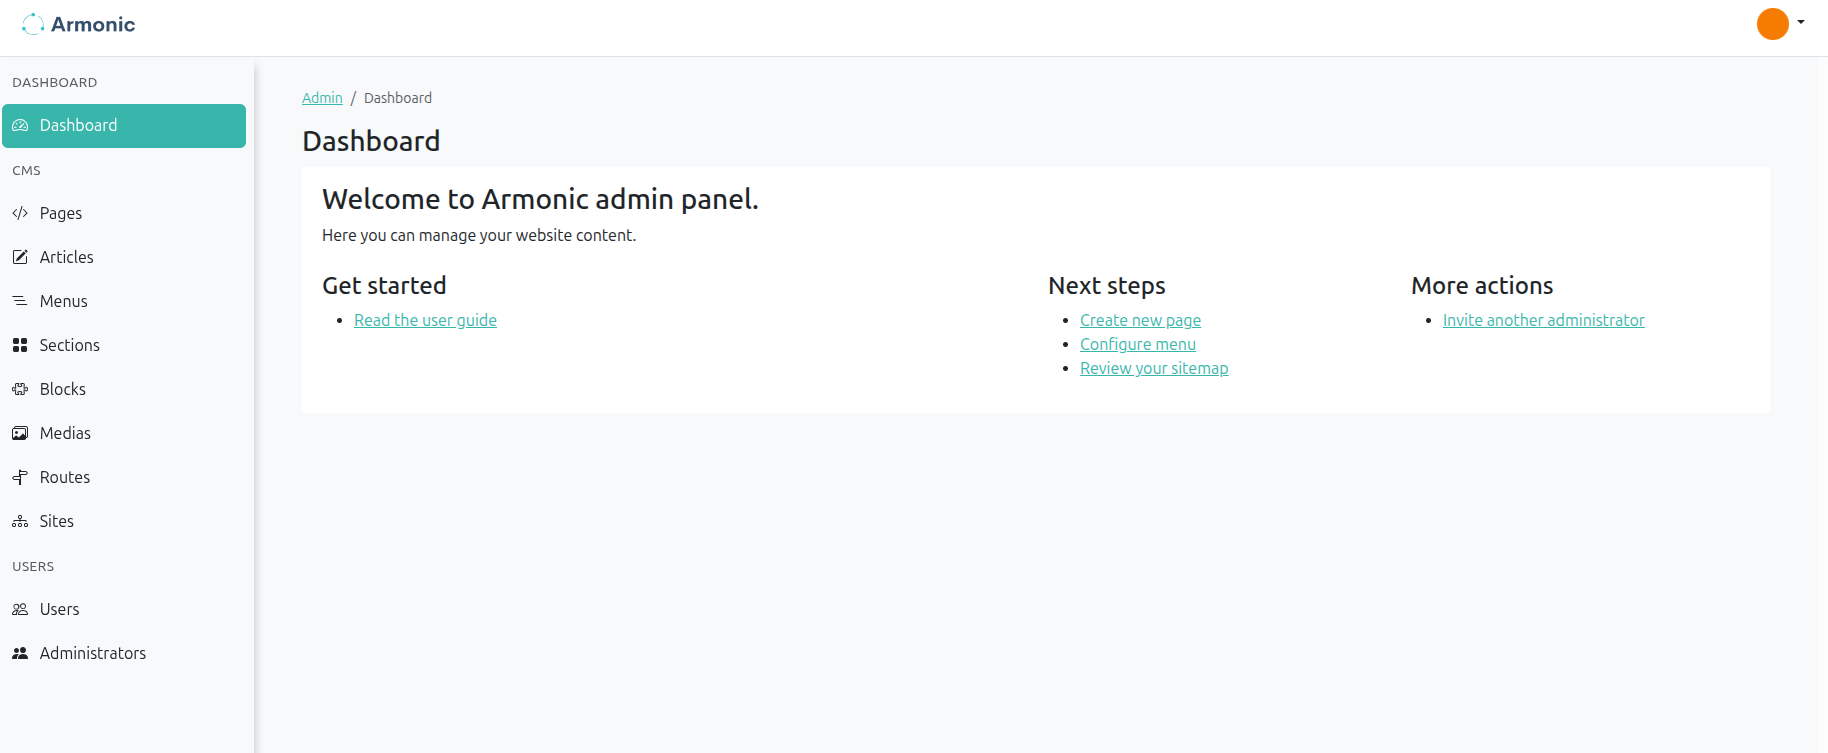
You are done! You can now start working with Armonic Standalone at https://127.0.0.1:8000/admin/en/.
If you have executed point 11 of the installation and you wish to see the example page, you can consult the page at https://127.0.0.1:8000/admin/en/cms/pages/ , its name is 'Home'.
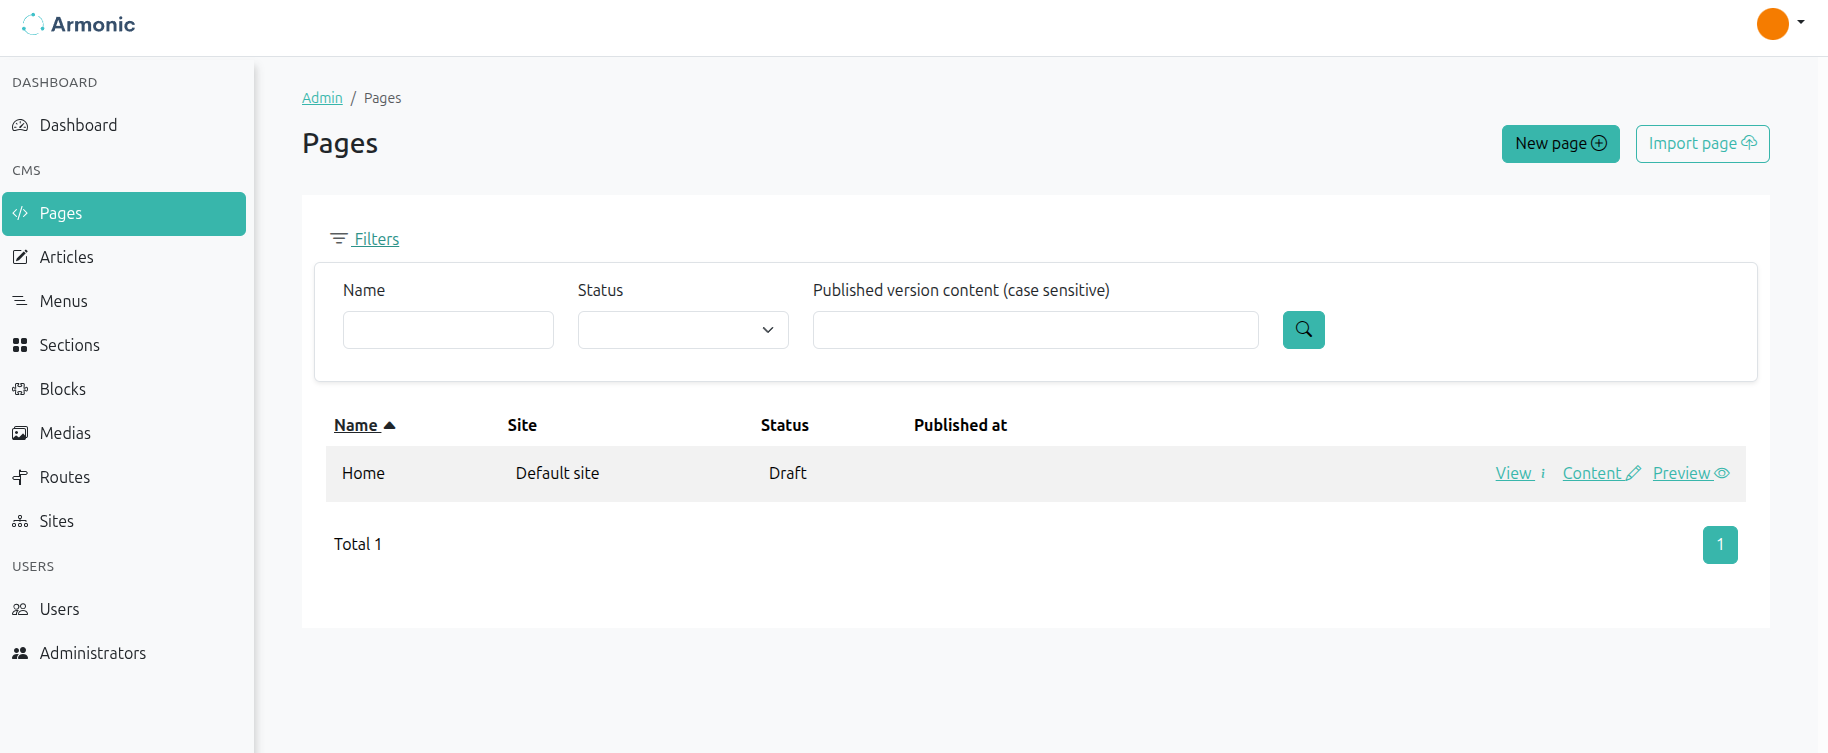
You can see the page information and edit it in "View" link.

In the list of "Last versions" or in the "Versions" section, you can publish the page and you can see it at https://127.0.0.1:8000/en/.
